

No-Churn Pistachio Ice Cream (with a vegan option!)
PREP TIME: 10 MIN. | COOK TIME: 2 HRS. 20 MIN.
I love pistachio ice cream.
It’s nutty and flavorful, and usually feels “just right” (goldilocks style) on the flavor scale from vanilla to super-loaded. You know what else feels just right? No-churn ice cream that can be made at home with a base of just two ingredients. The truth is, I’m a no-fuss dessert baker. I just can’t be bothered unless I’m really in the mood to concentrate and take the day to bake. And with two young kids at home, those days are few and far between.
The biggest technique to this ice cream is whipping the cream. And that just takes a few minutes of standing over a bowl with a hand mixer. No fancy temperature readings, no double boiling. Just mindless mixing. Can you sense a theme here? Is this mama exhausted? (yes.)
Here are a few extra recipe notes to make your ice cream making experience as seamless as possible.
The vegan option. Some of you may be here for the dairy-free no-churn pistachio ice cream. Welcome. So glad you’re here. I’ve included the recipe below, which you will notice varies only slightly from the dairy version. The biggest takeaways are:
a.) The coconut cream does not increase in volume like regular whipping cream. Because of this, the flavor and texture is just slightly more dense. I’ve reduced the amount of almond extract and sweetened condensed coconut milk because I found it made the whole batch way too sweet. The extract could be omitted altogether and I don’t think you’d miss it much. I’ve included it just to be as reminiscent of the regular pistachio flavor as possible.
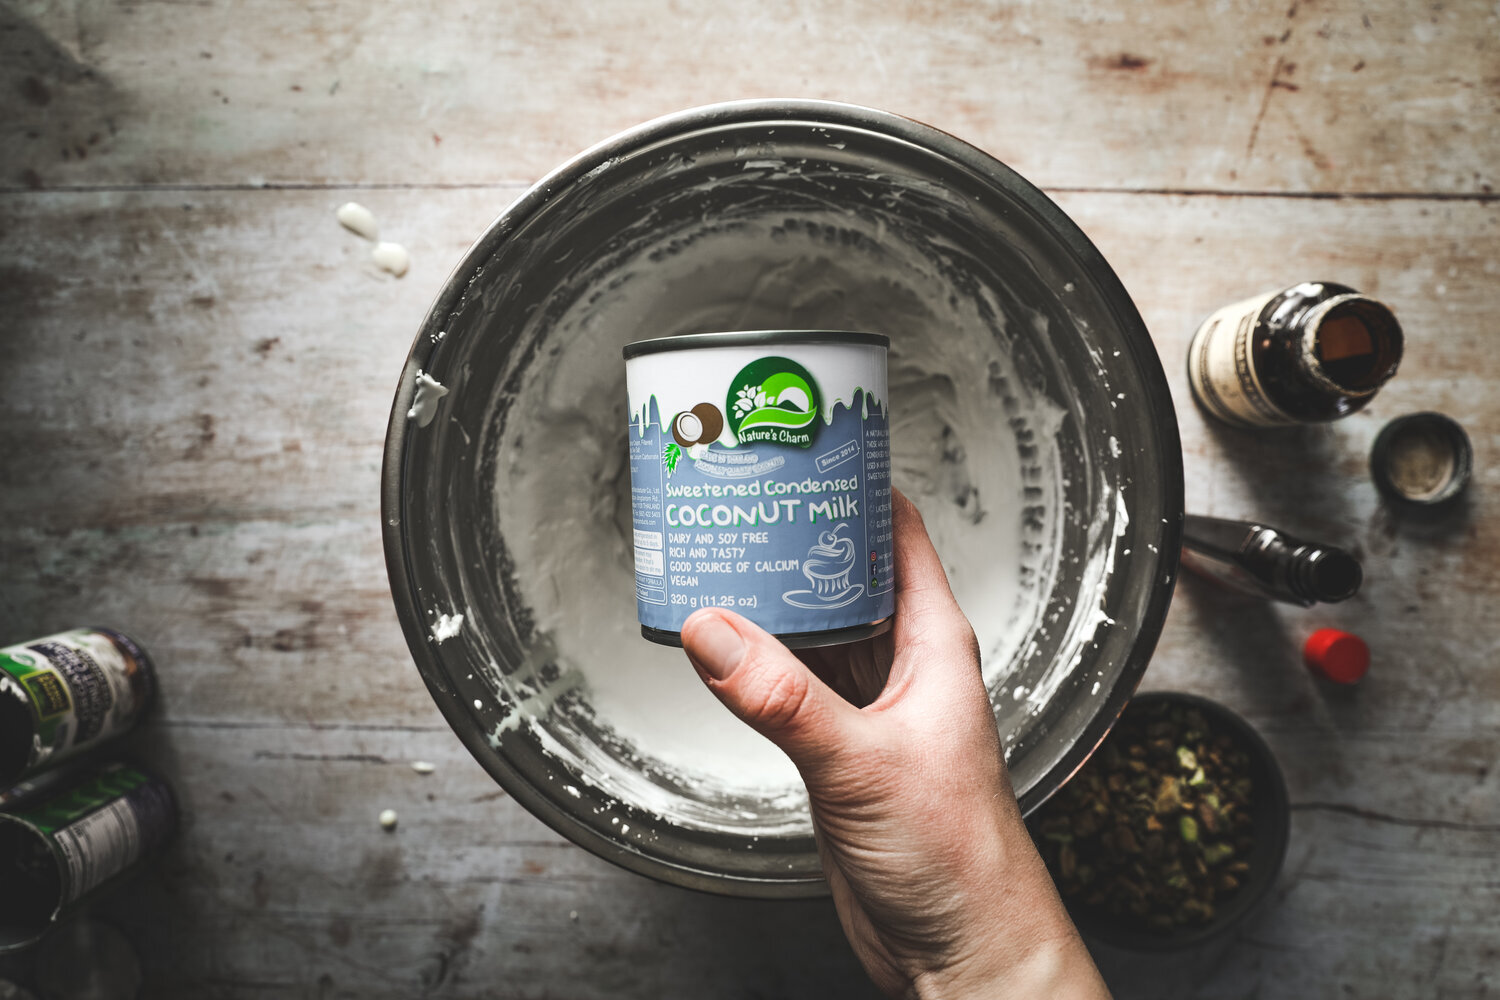
b.) Coconut cream is the same as the top of the can of coconut milk, just without as much liquid. If you don’t have access to coconut cream, sub in coconut milk can for can, and just discard (save for another use) the liquid. I did test this recipe using two full cans of coconut milk (liquid included) to one half can of sweetened condensed. It was much more liquid, and thus a slightly different texture when frozen, but the taste was great. I’ve found that really any combination of coconut milk to 1/2 can condensed works pretty well. Use what you have access to.
c.) I’ve noted below that the recipe makes half the amount as the dairy alternative. The reason I didn’t match the volume was simply because 6-8 cans of coconut cream felt excessive. If you want to make a standard amount, and use up the whole can of condensed coconut milk in one batch, go right ahead, just be warned that it’s a lot of coconut cream. Totally worth it, though.
d.) I didn’t reduce the amount of pistachios because I thought the flavor needed the extra crunch and pistachio-ness. Feel free to eyeball this based on your preferences.
e.) If you’re having a hard time finding sweetened condensed coconut milk, any liquid sweetener will do - just note that the flavor will change, and the consistency is likely less dense.
Vanilla bean paste. If you do not have this on hand or can’t find it easily, feel free to scrape out a vanilla bean and add a 1/4 teaspoon vanilla extract. Mix them to create a paste, and add to the ice cream. If you don’t have vanilla beans, 1/4 teaspoon of extract alone will do! The paste and beans add flavor and the beautiful little specks.
If you feel like you want more stiffness in your whipped cream or your coconut cream, feel free to add a sprinkle of confectioner’s sugar. Just note that this will intensify the sweetness, so use caution and taste as you go.
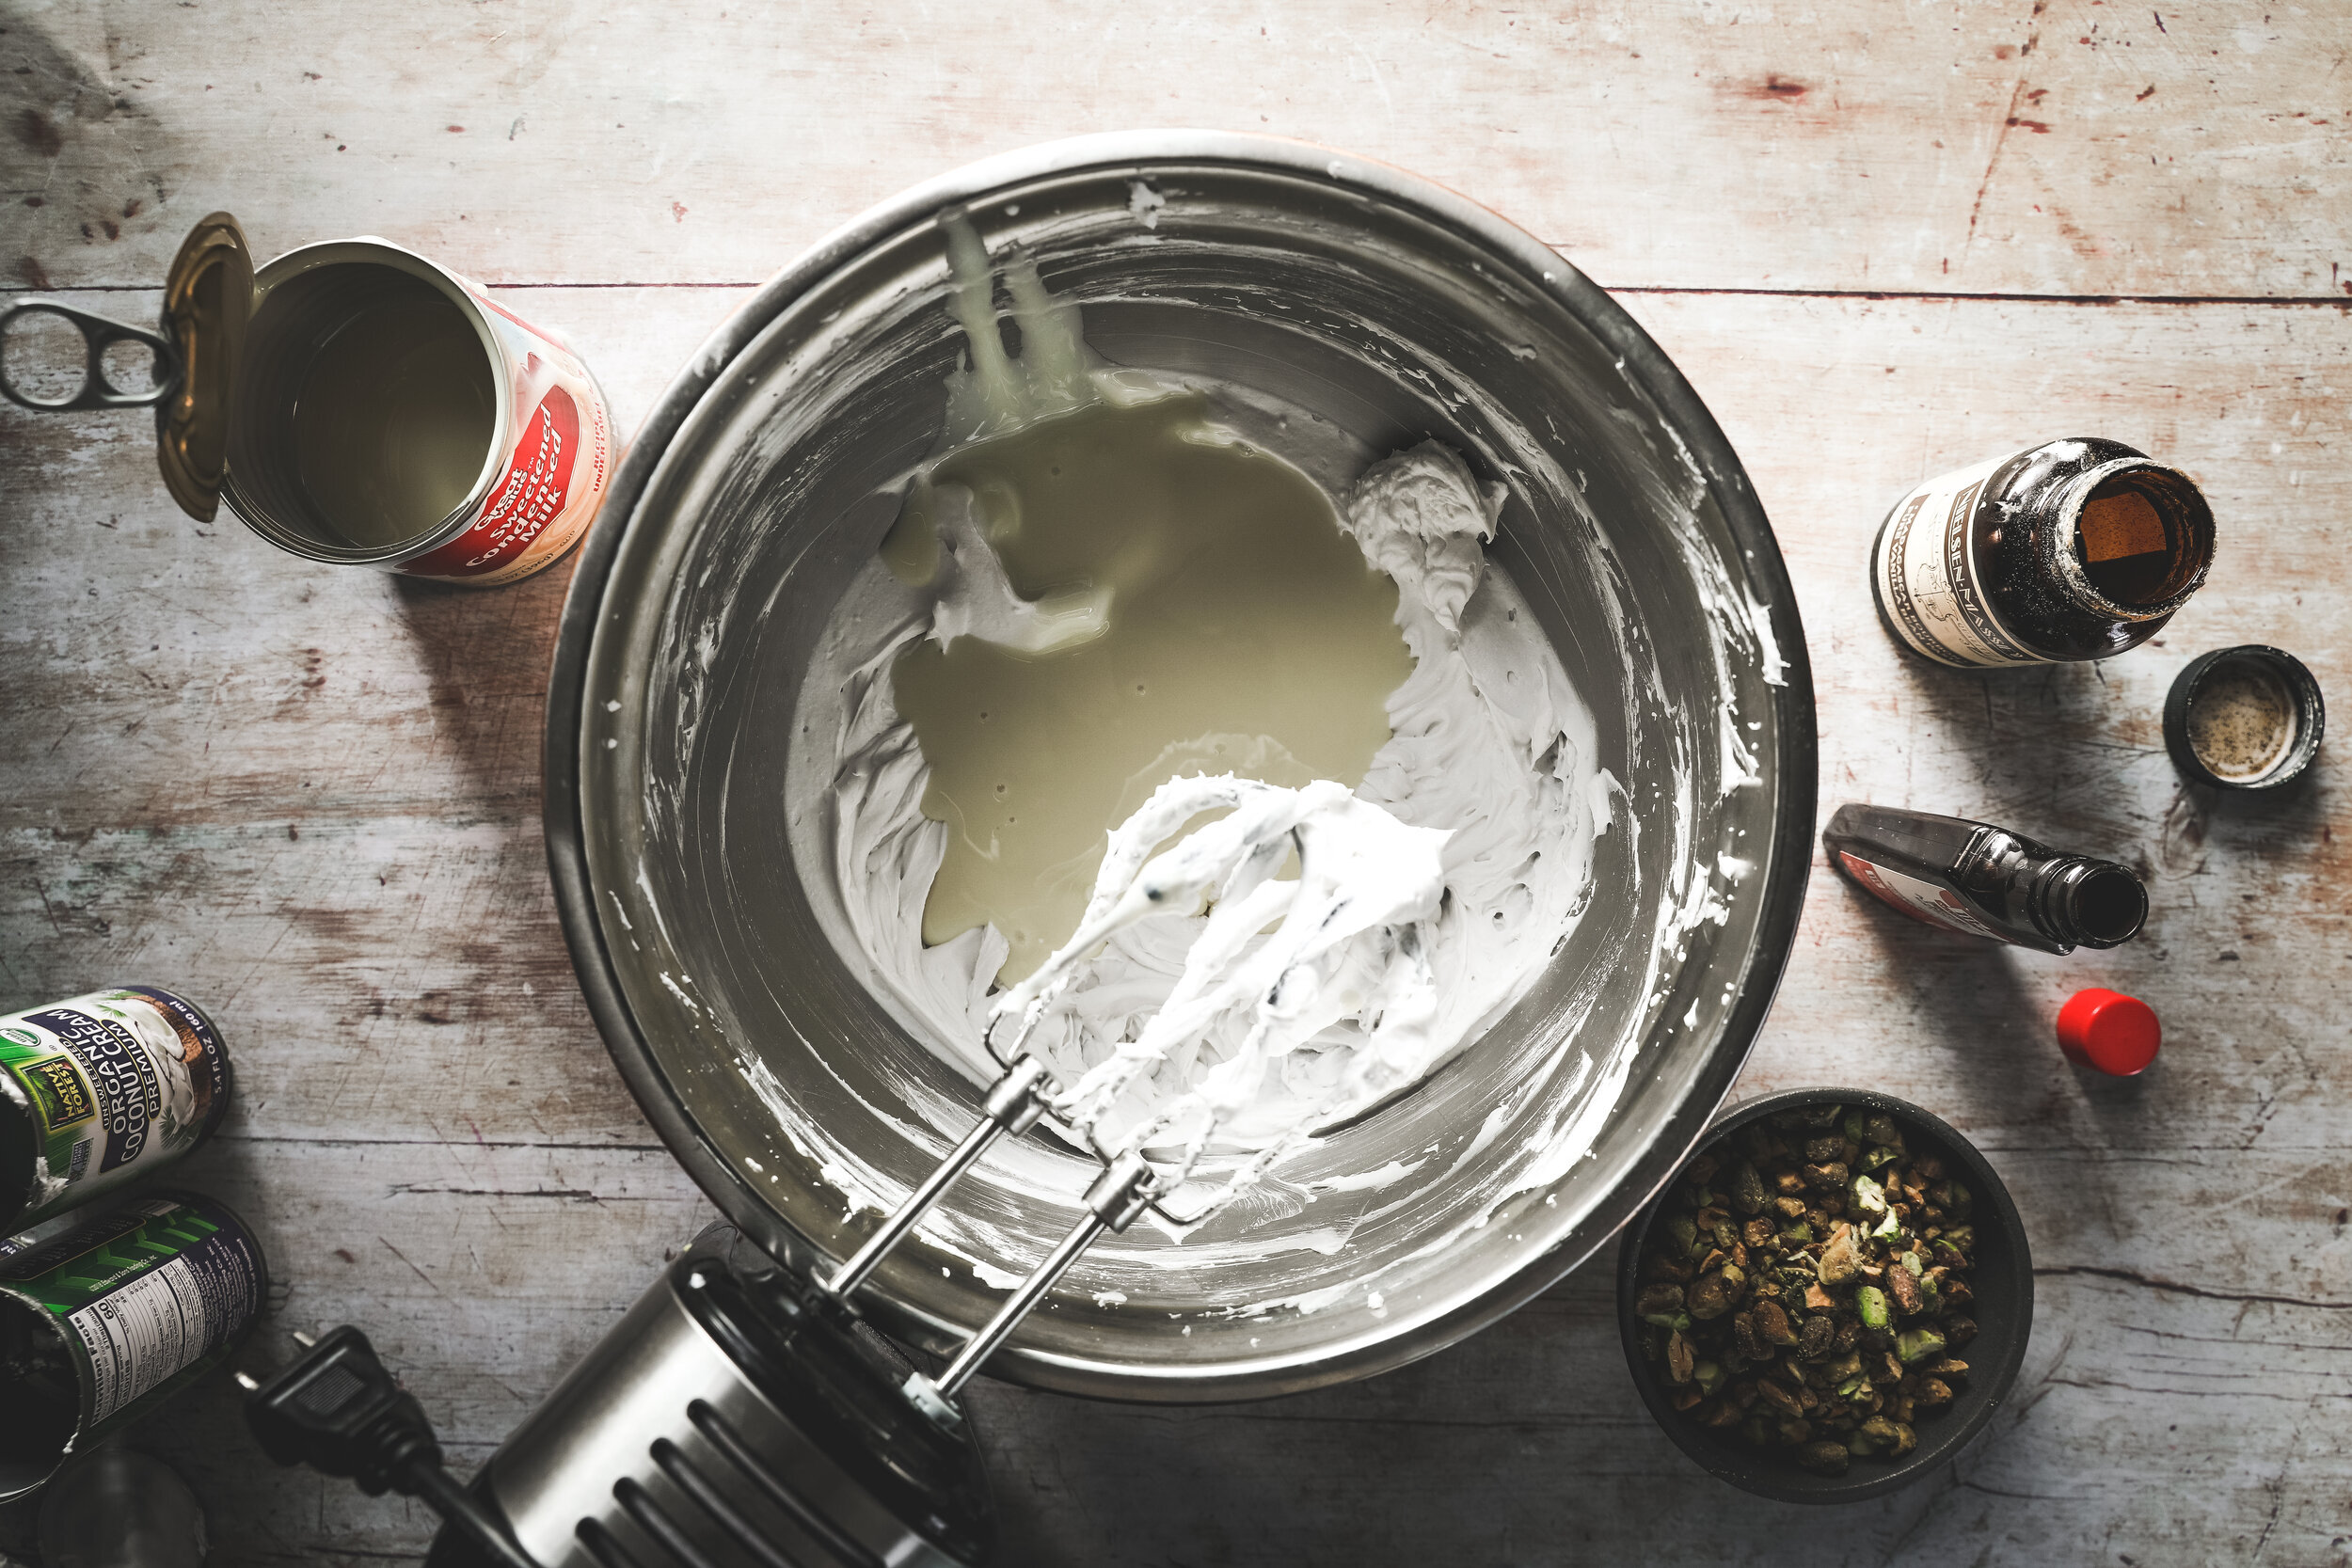
When you mix in the sweetened condensed milk, the whipped cream will deflate a little. That’s totally fine! The texture will remain airy and cloud-like, but resemble more of a melted ice cream thickness than just whipped cream alone.
Can you use canned whipped cream instead of making it fresh? NO. ABSOLUTELY NOT. The closest thing you could swap whipping it fresh with would be Cool Whip, but the flavor will change. I recommend whipping your own, always.
Can you use the base for other no-churn flavors? Yes!! Please do! Have fun with it and get creative. I say keep the vanilla bean paste if you want a vanilla flavor as a base, but honestly the world is your oyster. After you whip up the cream and add in the condensed milk, you can do anything you want.
Can you use raw pistachios? Sure. But I recommend you roast and salt them yourself. Raw just tends to be a little.. well.. lackluster.
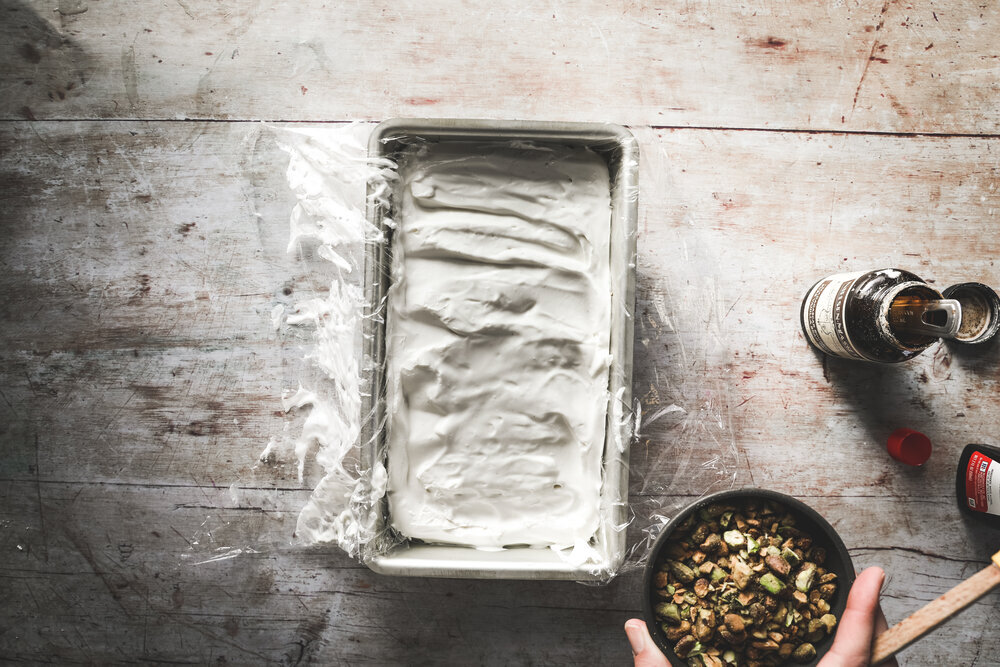
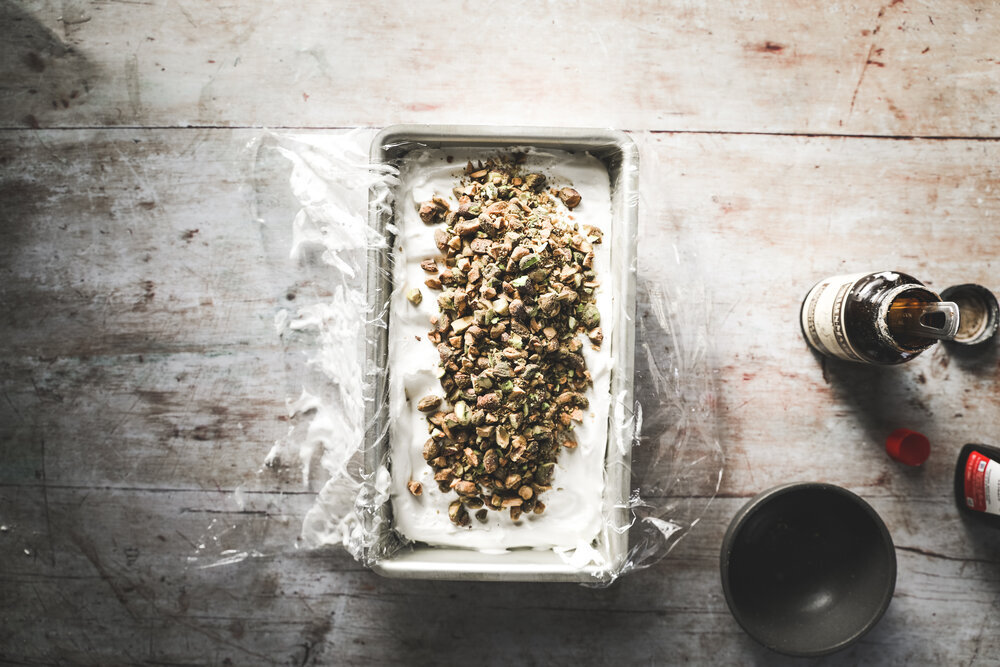
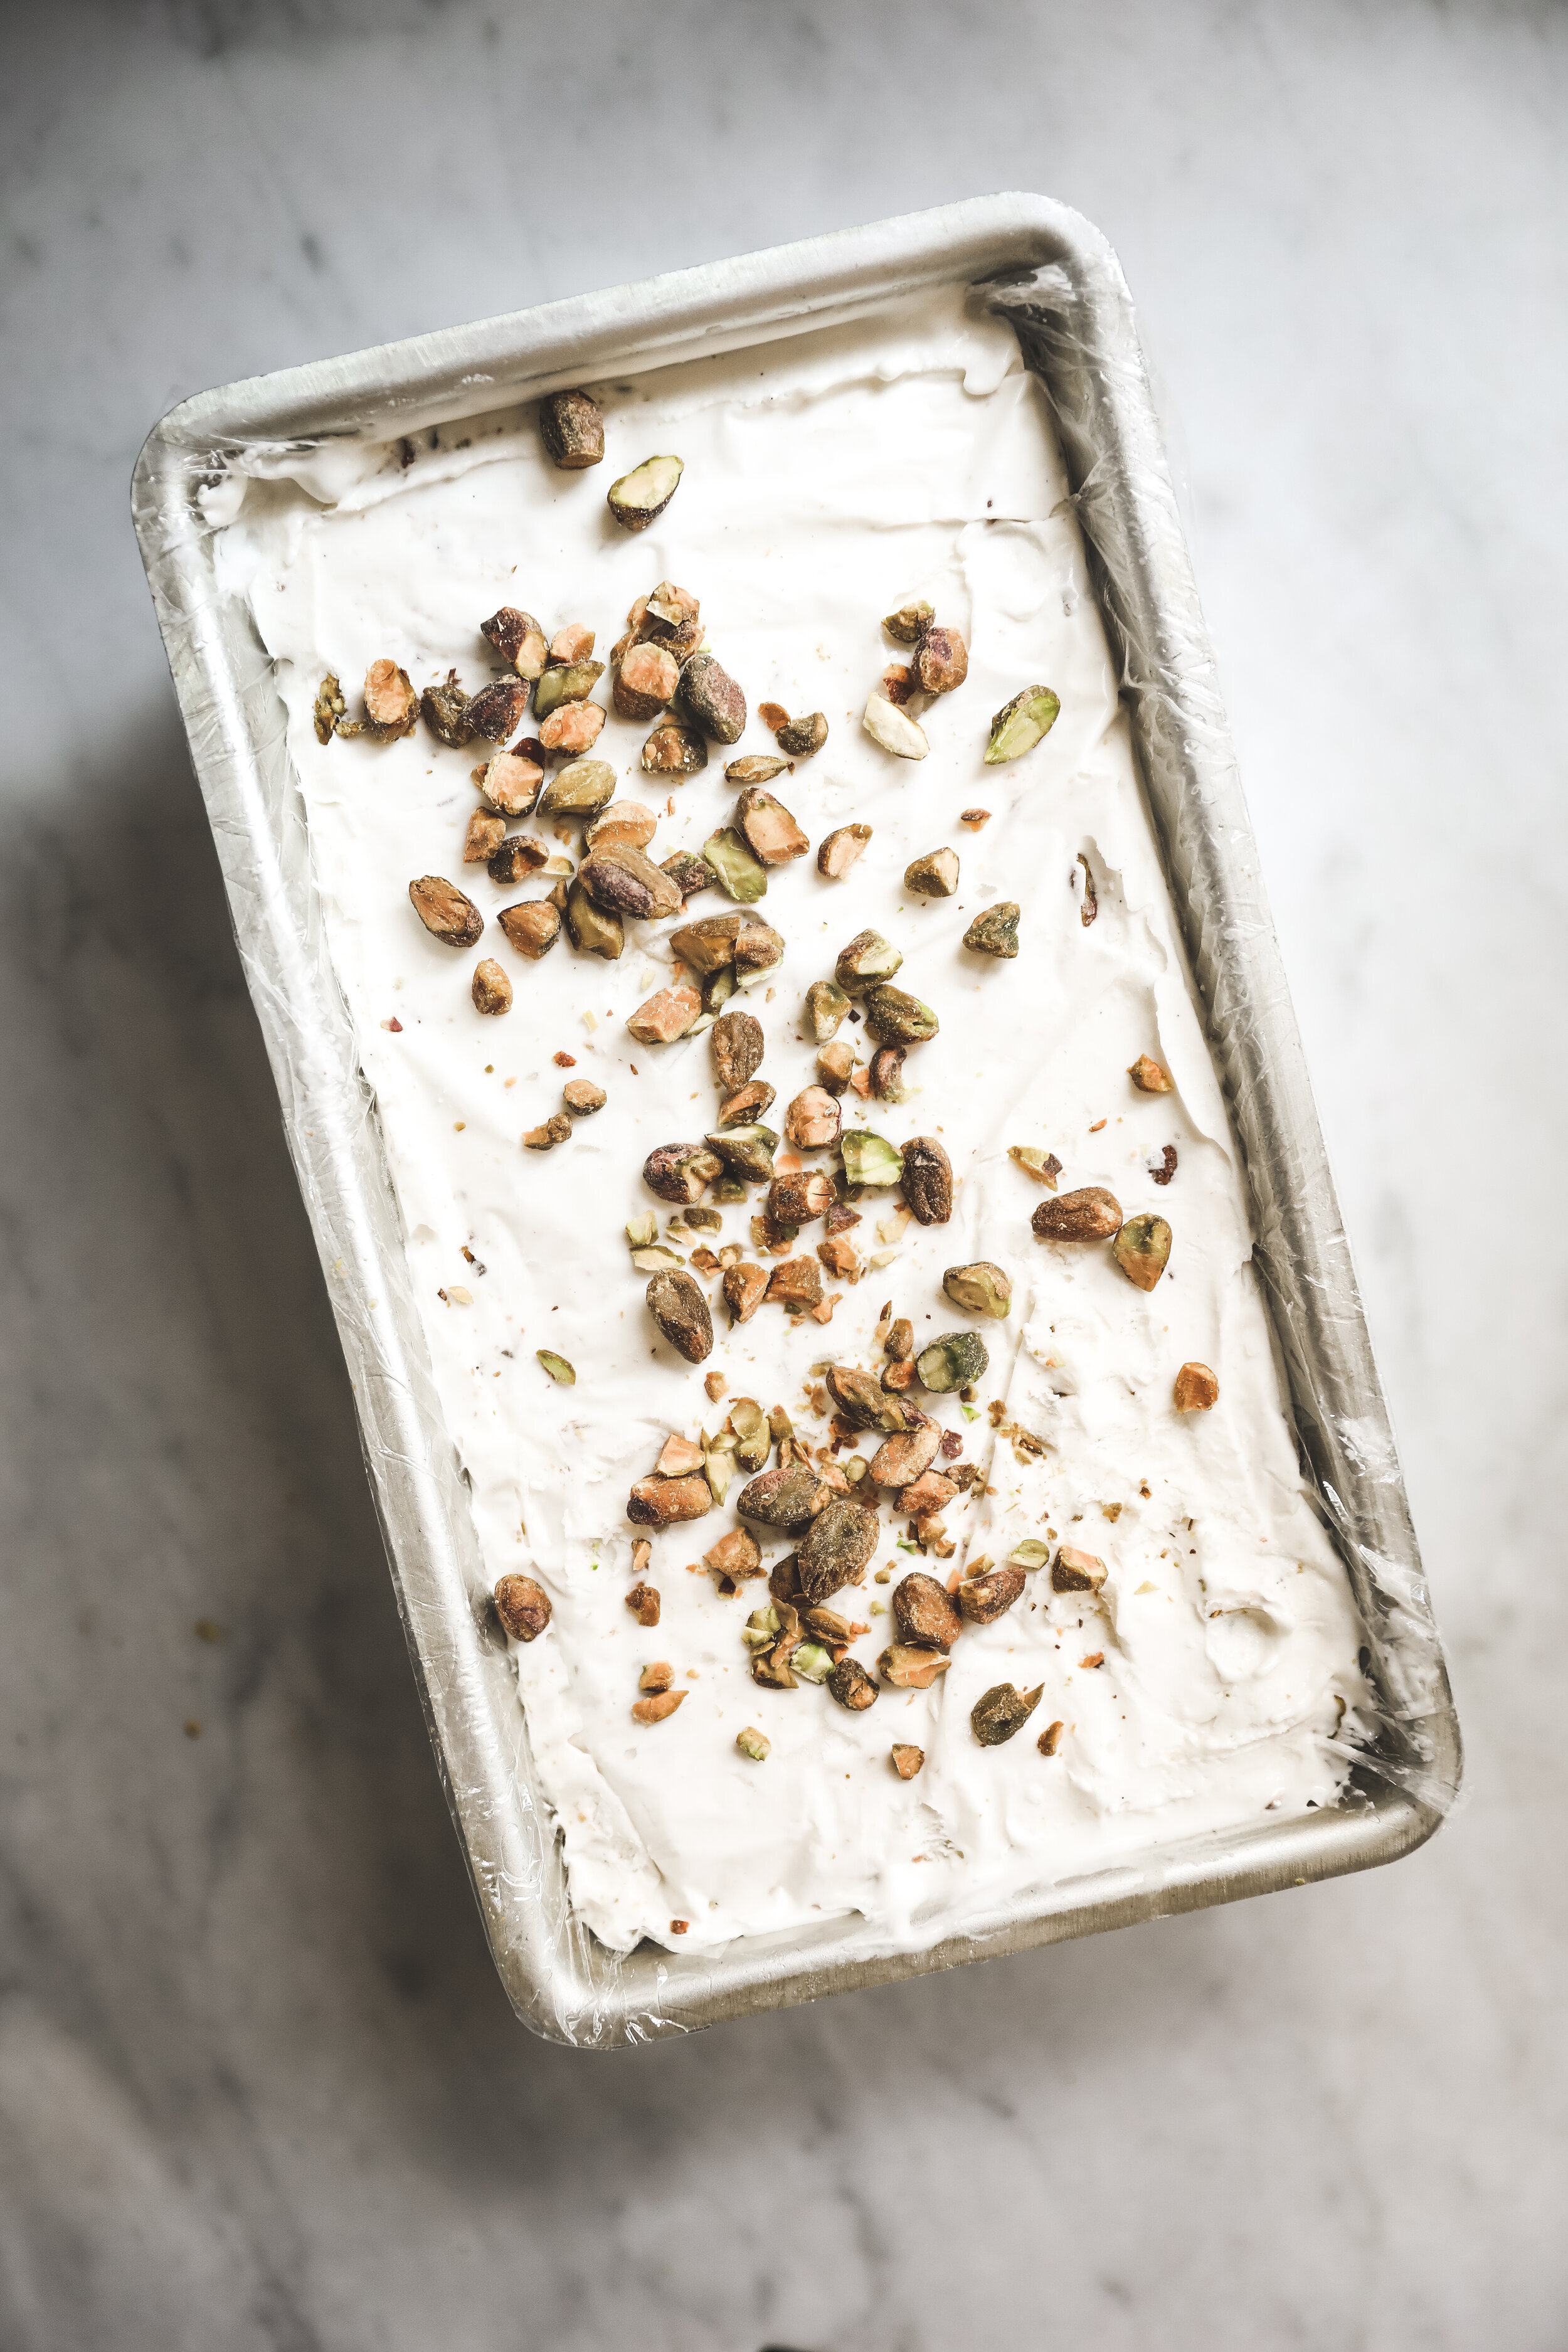
The freezing vessel. I call for an aluminum loaf pan because aluminum in the elongated shape will quickly and evenly freeze your ice cream. I ask you to add the pistachios after 20 minutes of freeze-time so that the pistachios distribute evenly, made all the more possible by the shape and freezing time of the aluminum loaf pan. Lastly, I personally line it with plastic for two reasons. The first being that I’m really sensitive to the taste of metal, and if you scrape the aluminum with a metal spoon, I can almost always taste it. Secondly, if you do want to transfer your ice cream into a different vessel, or say, add it to an ice-cream cake or pie, the plastic makes for an easier transfer. Absolutely not necessary, just make sure you cover the top some how for freezing.


No-Churn Pistachio Ice Cream (with a vegan option!)
PREP TIME: 1 MIN. | COOK TIME: 2 HRS. 20 MIN.
INSTRUCTIONSThis no-churn pistachio ice cream is not only super easy to make, but can be customized to your preferences, too! Add a few drops of green food coloring to add some color!
Using a hand mixer on high speed, whip the whipping cream for about 5 minutes, or until peaks form and the cream is light and airy.
Add in the sweetened condensed milk, vanilla bean paste, and almond extract and continue to whip on high until incorporated, about 1 minute.
Pour the mixture into an aluminum loaf pan (feel free to line this with plastic if you so desire) and smooth. Cover and freeze for about 20 minutes, or until the mixture firms up a bit.
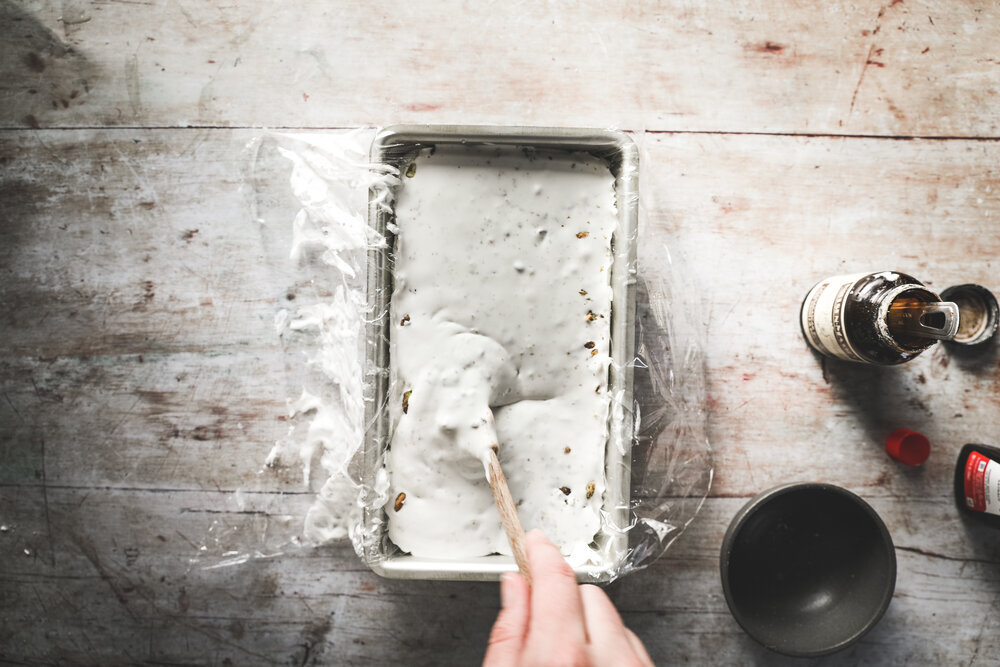
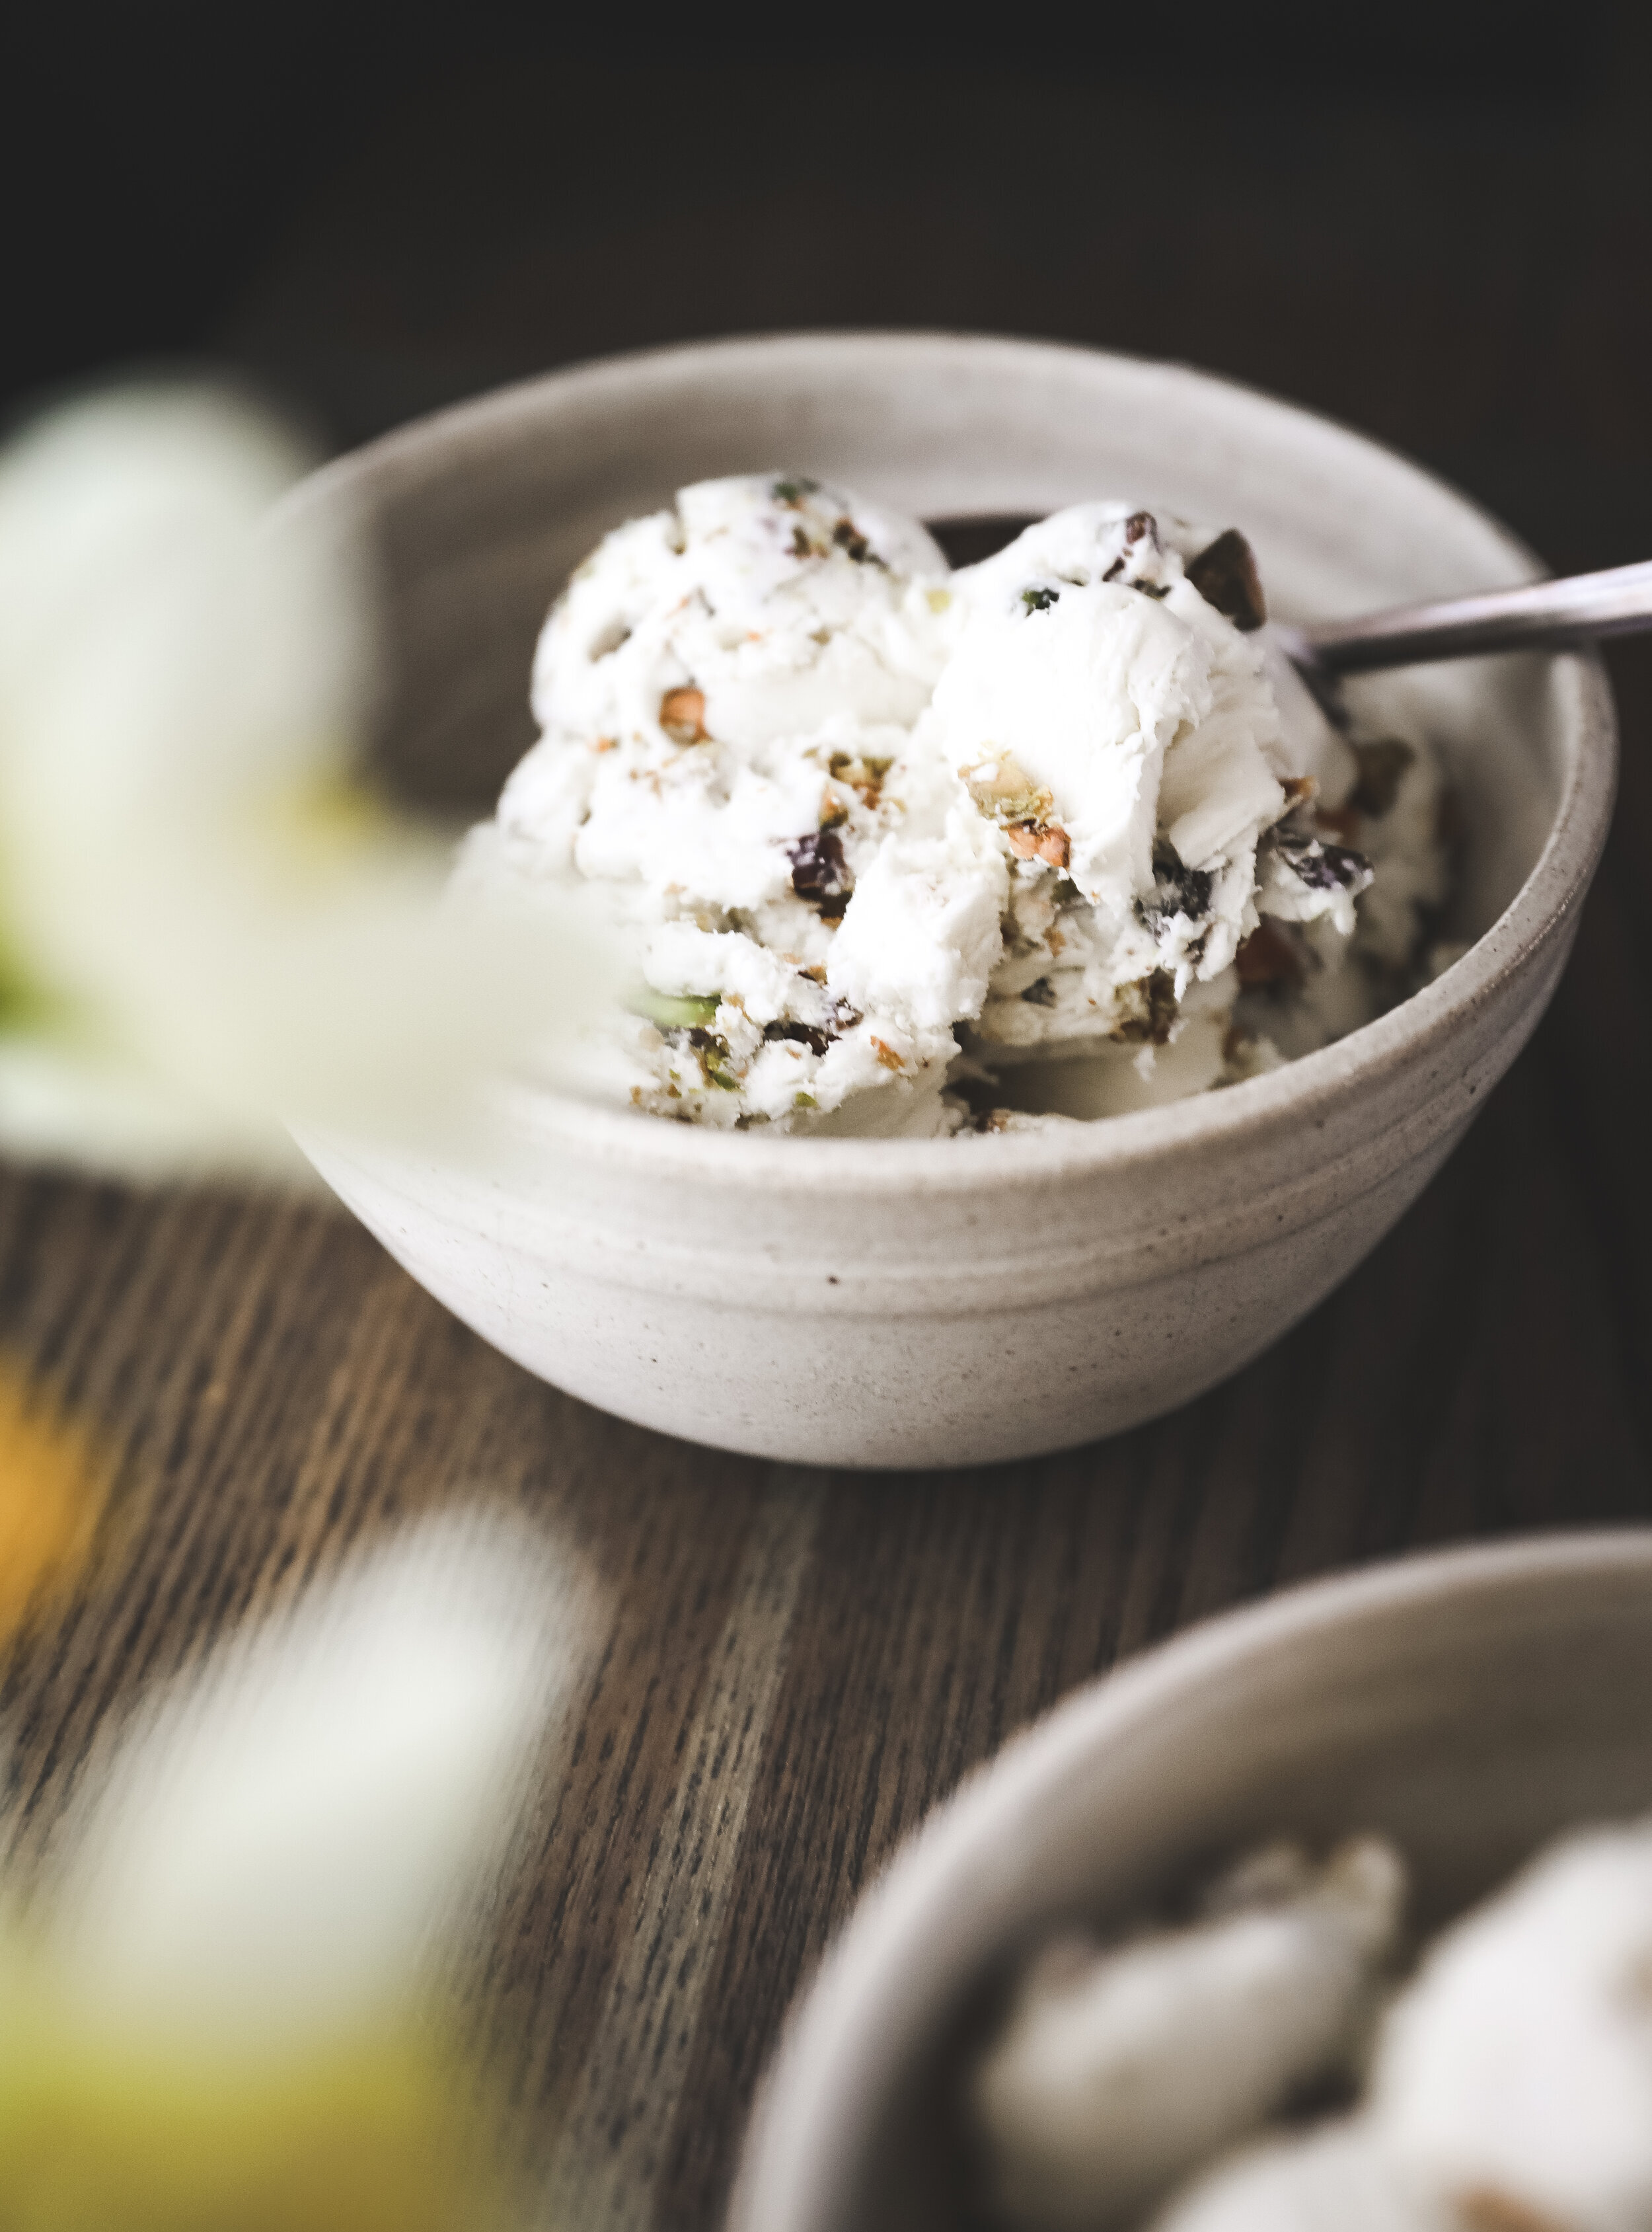
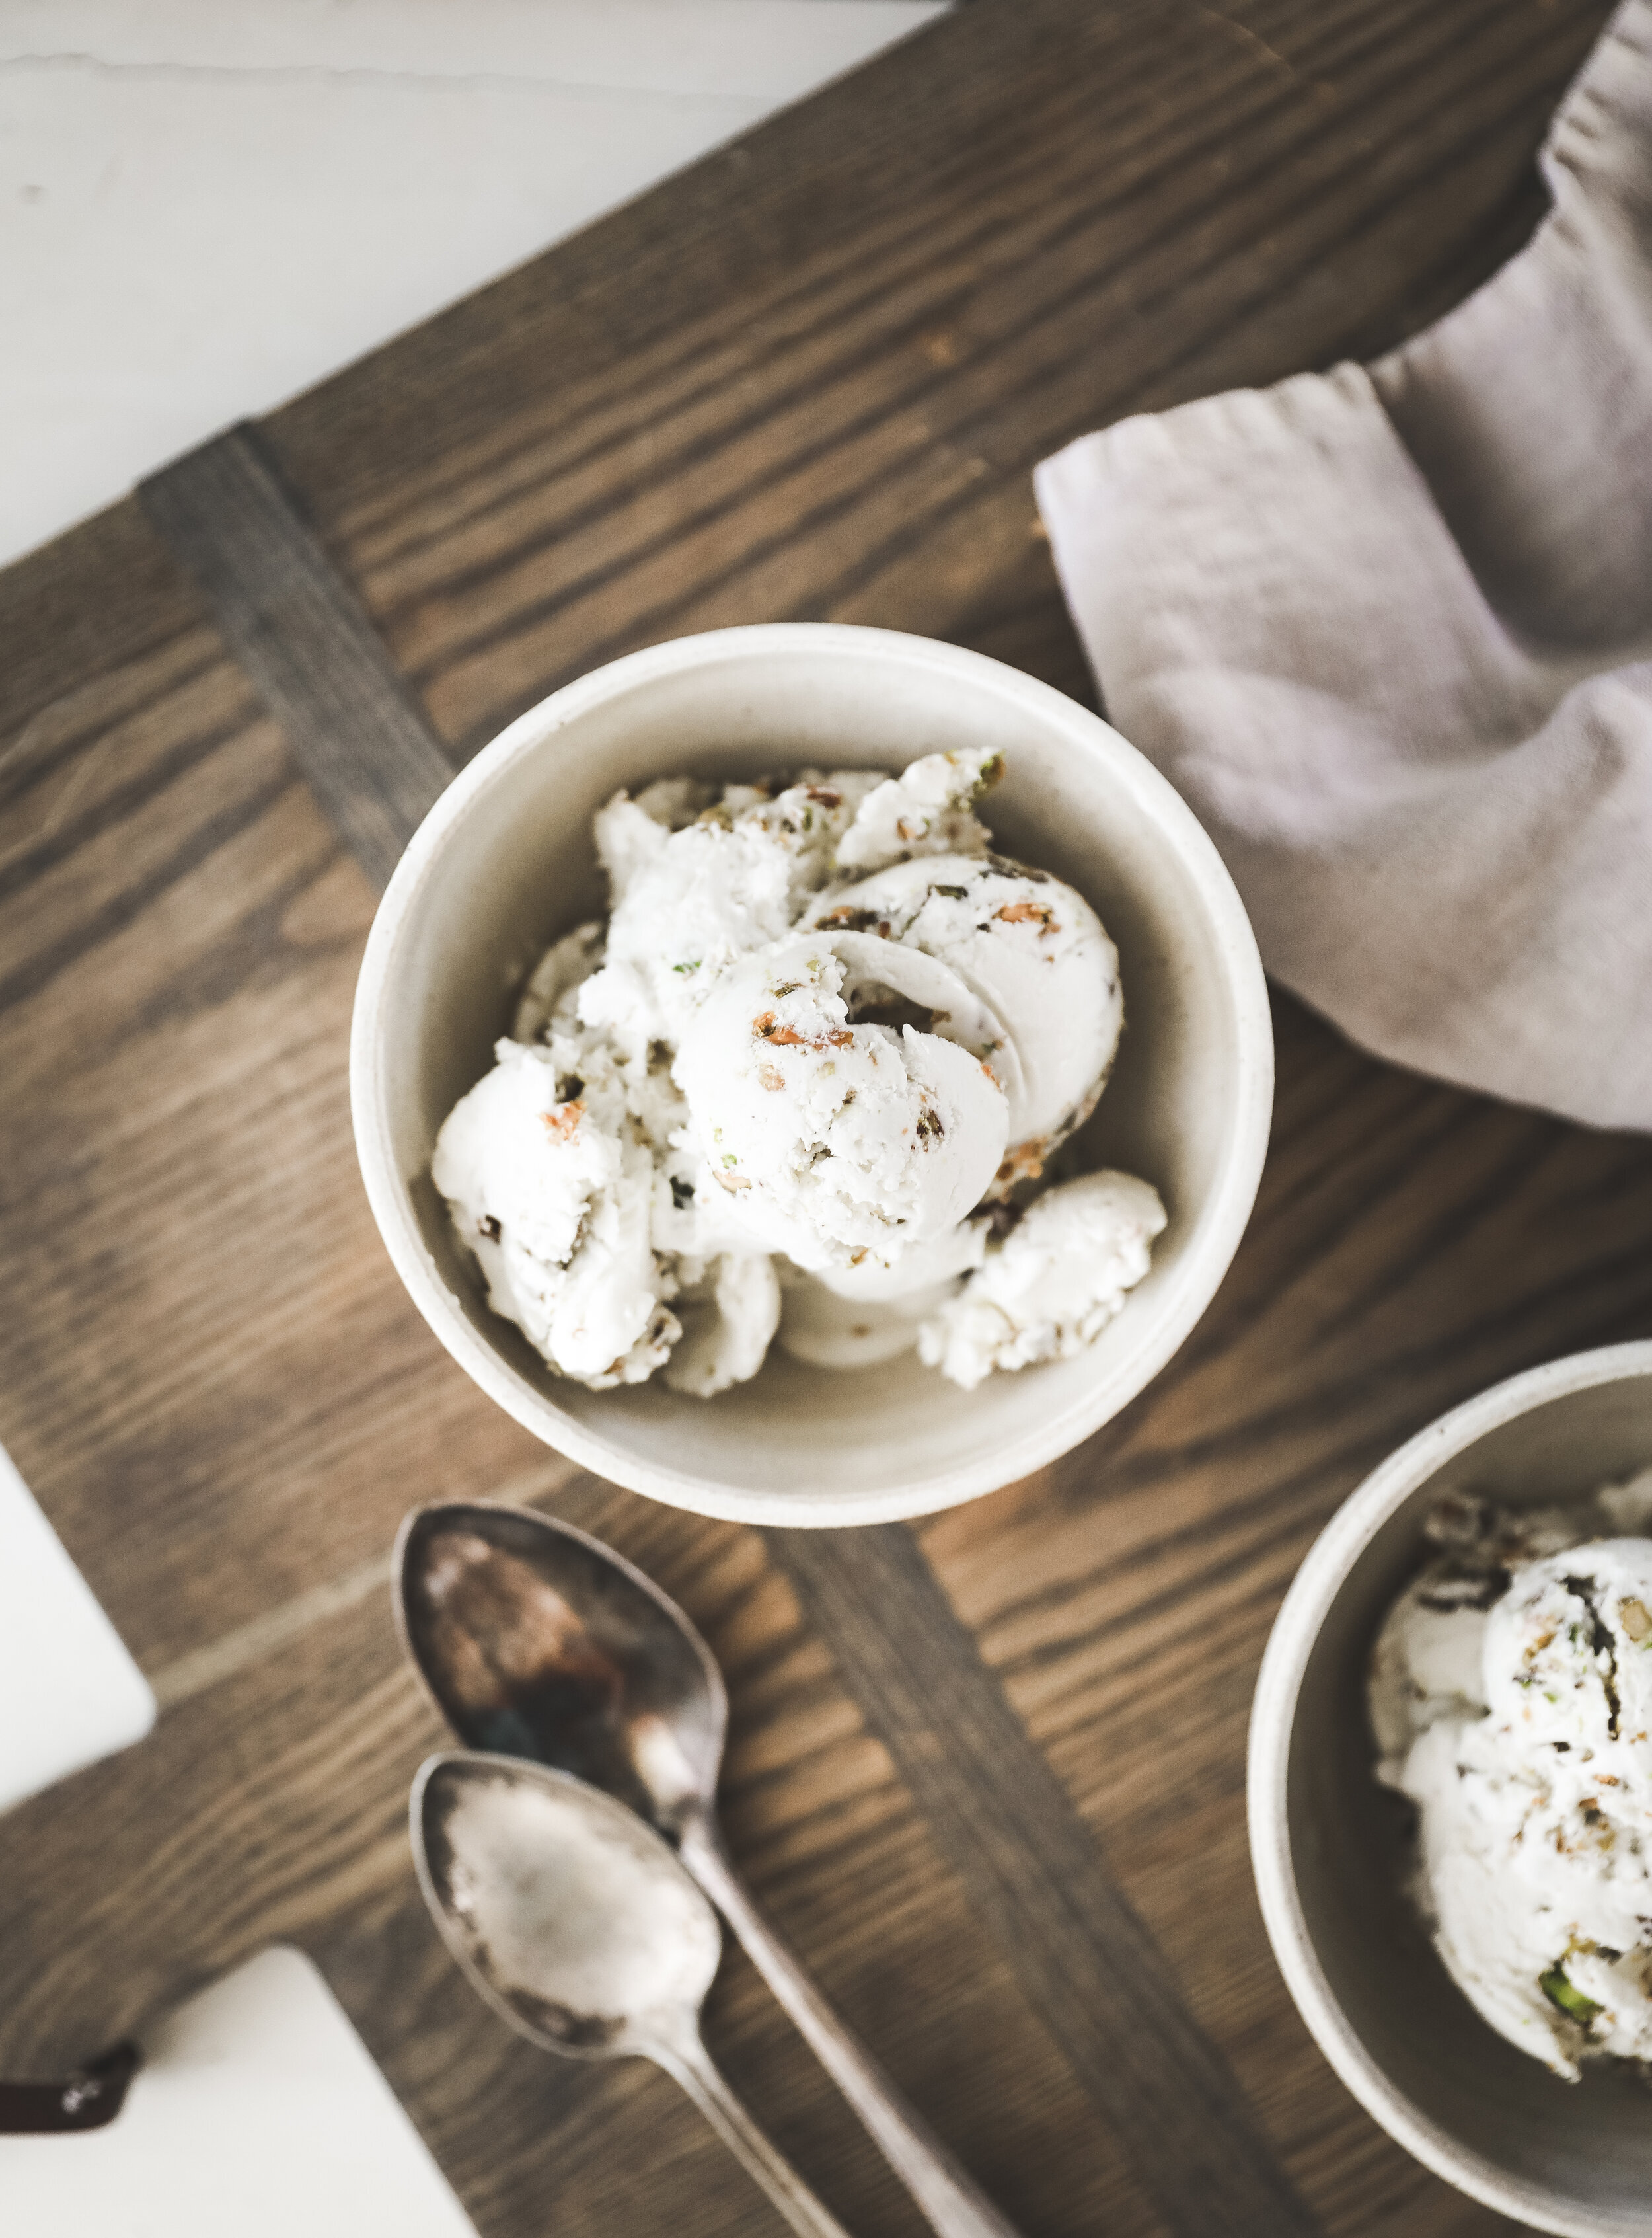
Remove the mixture from the freezer and gently fold in the chopped pistachios. Cover and freeze about 2 hours, or until the ice cream has firmed up through the center. Serve and enjoy!
INSTRUCTIONS FOR VEGAN OPTIONThis no-churn pistachio ice cream is not only super easy to make, but can be customized to your preferences, too! Add a few drops of green food coloring to add some color. If you are having a hard time finding coconut cream, sub in two cans of coconut milk to one half can of sweetened condensed coconut milk. See my recipe notes in the original blog post.
Using a hand mixer on high speed, whip the coconut cream for about 5 minutes, or until the coconut cream is light and airy (volume will increase just a little).
Add in the sweetened condensed coconut milk, vanilla bean paste, and almond extract and continue to whip on high until incorporated, about 1 minute.
Pour the mixture into an aluminum loaf pan (feel free to line this with plastic if you so desire) and smooth. Cover and freeze for about 20 minutes, or until the mixture firms up a bit.
Remove the mixture from the freezer and gently fold in the chopped pistachios. Cover and freeze about 2 hours, or until the ice cream has firmed up through the center. Serve and enjoy!
INGREDIENTS1 pint whipping cream
1 can sweetened condensed milk
1/2 teaspoons vanilla bean paste
1/4 teaspoon almond extract
3/4 cup roasted and salted hulled pistachios, chopped
INGREDIENTS FOR VEGAN OPTION3 cans coconut cream, chilled in the refrigerator at least 1 hour with any liquid at the bottom of the can
1/2 can sweetened condensed coconut milk
1/2 teaspoons vanilla bean paste
1/8 teaspoon almond extract
3/4 cup roasted and salted hulled pistachios, chopped